A Web Portfolio Built with HTML, CSS, & JavaScript.

I started looking into HTML, CSS, & JavaScript during the winter break of my freshman year. I tested out making practice pages to understand how HTML & CSS worked, but they all lacked purpose. So, I decided to research practical applications of HTML, CSS, & Javascript. Through this I found web portfolios. Web portfolios would allow me to develop the skills I wanted as well as give me something I could use practically in resumes and other professional landscapes. This led to me researching other portfolios from people in the same field as me. In the end, I looked at over 50 different Software Engineering and Computer Science portfolios. In each portfolio, I paid close attention to what did work, what didn’t work, and common characteristics. I was frequently drawn towards pages with more diverse color palettes and eye-leading designs. These portfolios often featured four sections: About, Experience, Skills, and Projects. Each of these sections aimed to communicate something important about the creator, so simplicity and engagement were essential. These observations were extremely helpful when it came to deciding what to include in my own portfolio’s design.
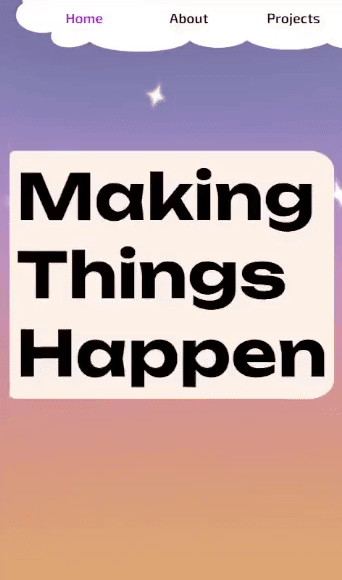
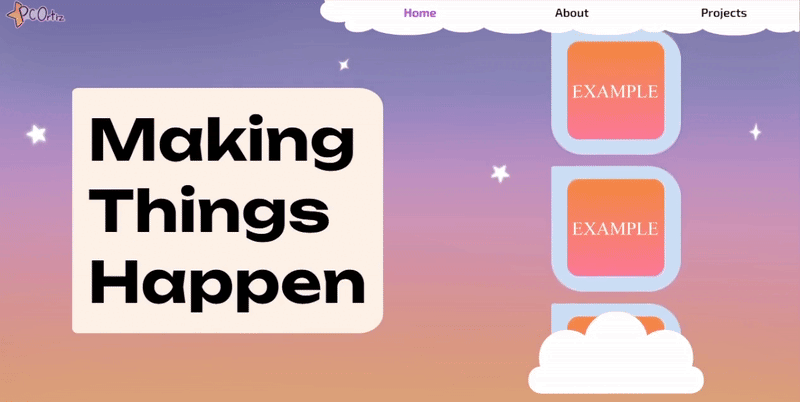
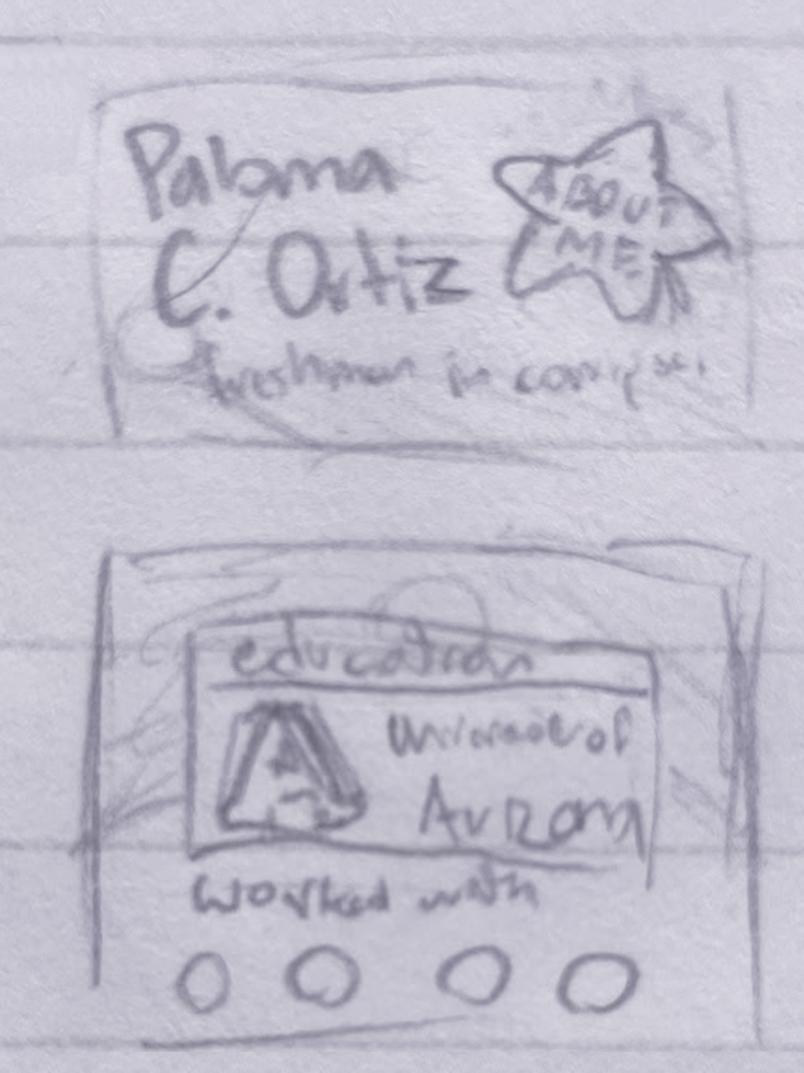
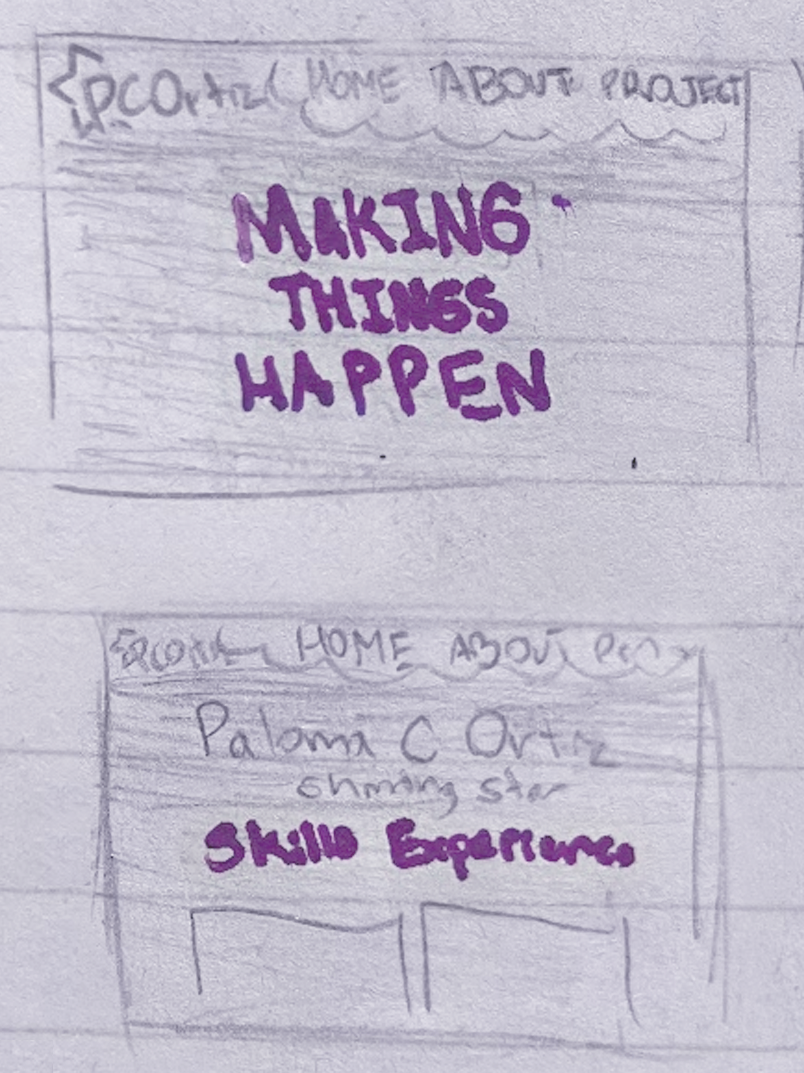
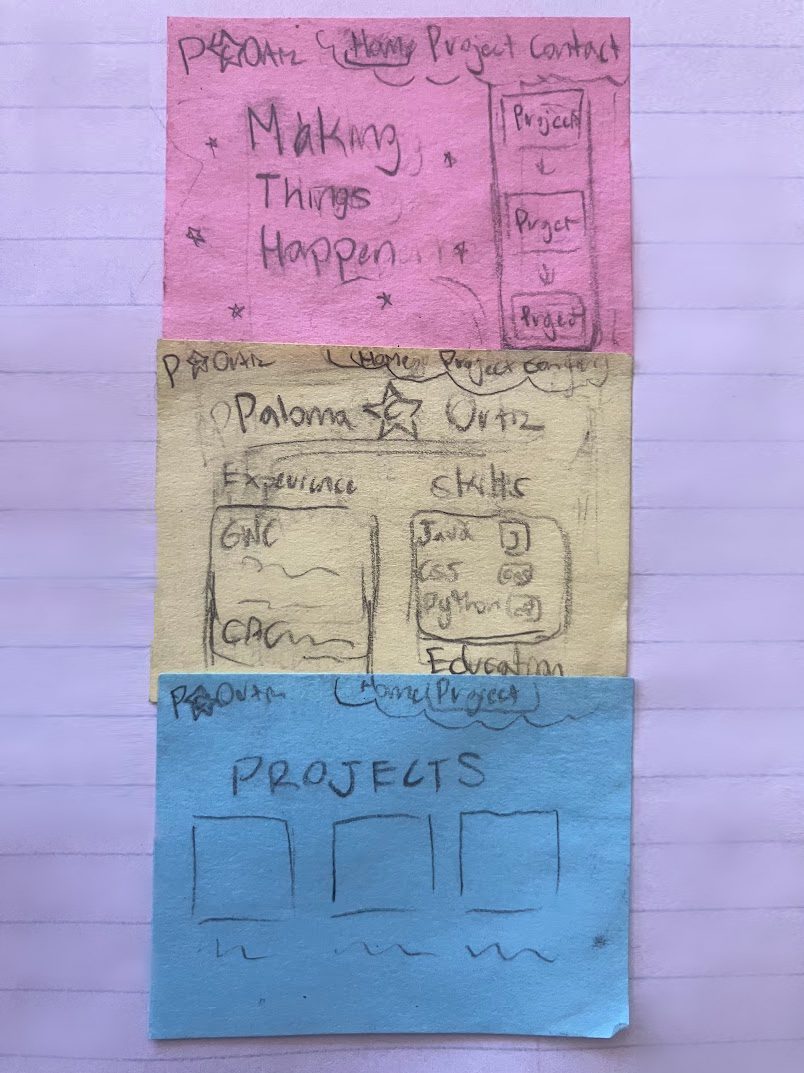
I took a rest from the project, not returning to it until I went back to my hometown for spring break. Every day of my break, I went to our local university to use their library to work on this project. It was here that I sketched loose designs for my portfolio. These early mockups experimented with different design motifs, navigation methods, and visual hooks. While most portfolios I observed were limited in color, I wanted to emphasize myself inside my portfolio and add a more diverse color palette. Considering this, I chose a sky inspired motif for my sketches, where the sunrise represents my new arrival to technology, and the stars reference my middle name. These sketches were pivotal to my process, as they allowed me to visualize how I should implement my design using HTML, CSS & JavaScript.
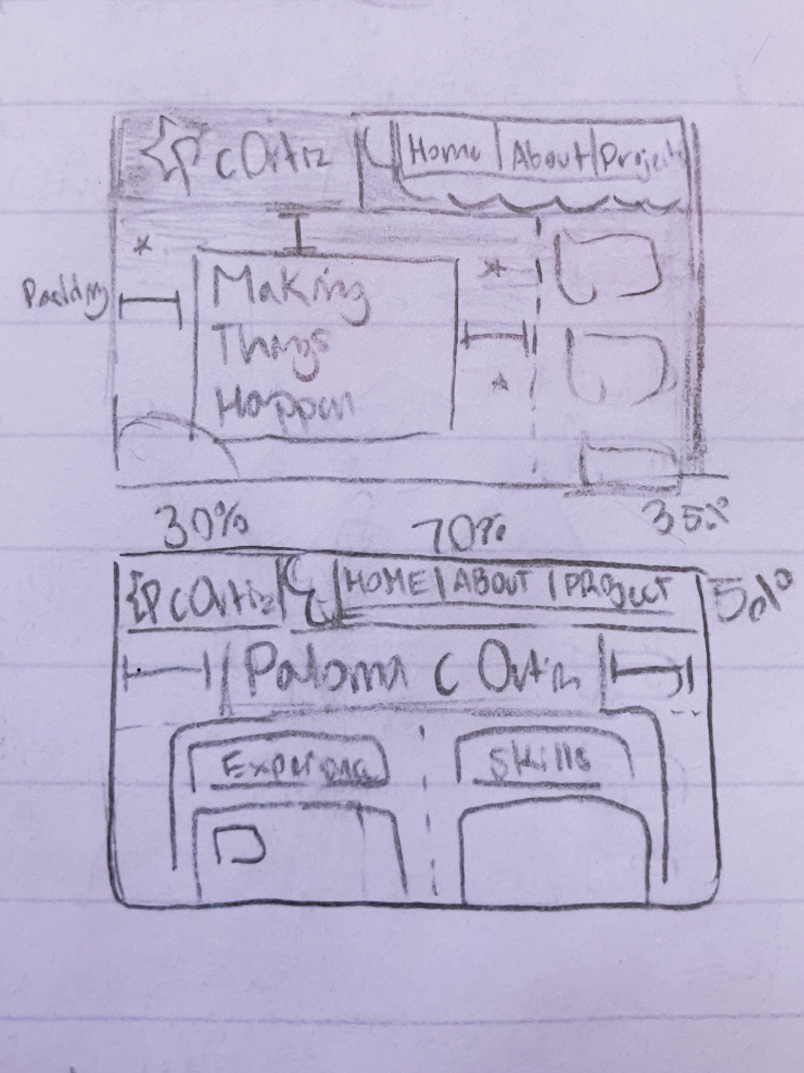
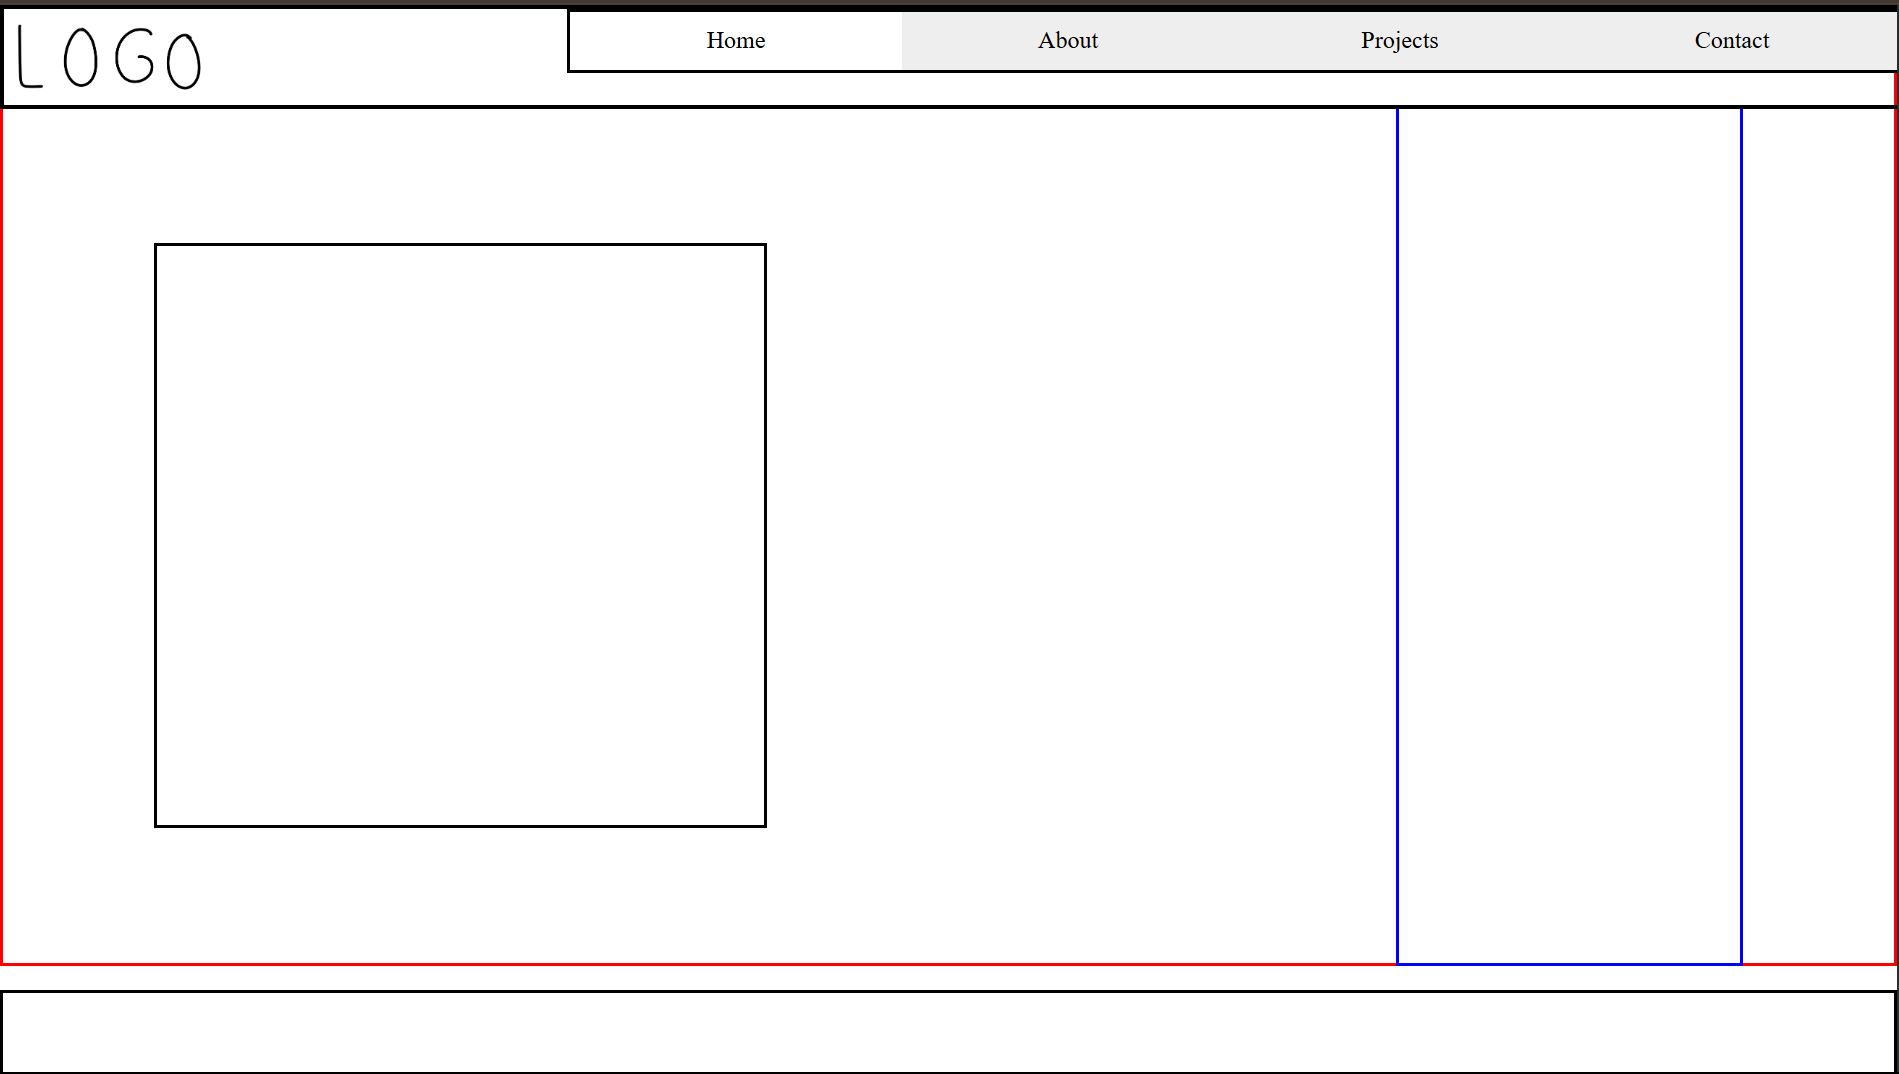
Once I had my design picked out it was time to start writing the HTML & CSS. I focused on creating an outline of what my page should look like, before focusing on colors or fonts. It was at this time that I learned about the box model, flexboxes, grids, and borders. All outlines for the website were finished by the end of my spring break, leaving me with a good foundation to return to during summer break.
Although I had left myself an outline, adding details turned out to be the most complex part of returning to the project. Changing something as simple as a margin could lead to outlines becoming displaced. During this stage, colors, fonts, and assets were added, as I tried to optimize the visual flow of the page. For assets, like the background, stars, and clouds, I chose to create them with a combination of Adobe Illustrator & FireAlpaca (A Free Art Program). I struggled especially with Adobe Illustrator, as I had never used it before this project. Even after the assets were created, I still faced difficulties, as adding the finished assets wasn’t as simple as replacing them in the outline. The use of images caused collision issues on the page and could only be resolved through an understanding of the CSS position property. While this part of the project was the most challenging, more problems gave me more learning opportunities.
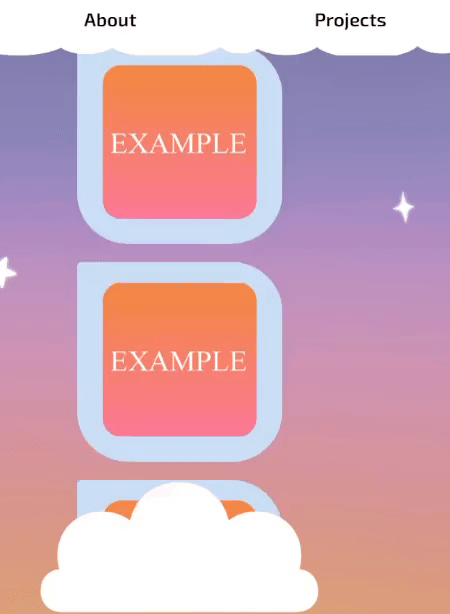
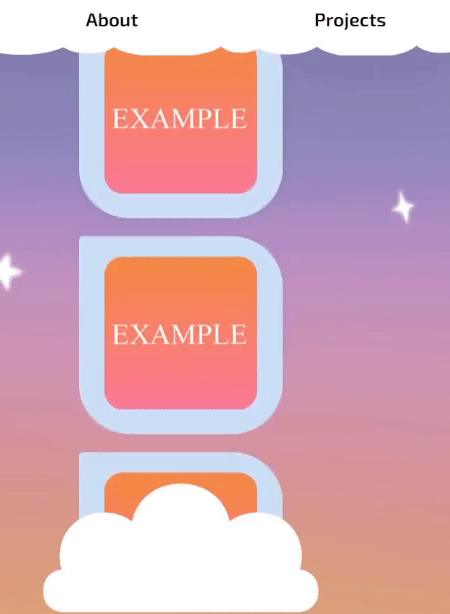
There was no specific point where I added interactivity to the project, as I was often adding interactive elements as needed. The navigation bar’s utility was added during the Outlines phase, aided by online resources. The animated stars, while mostly CSS, were added during the HTML & CSS phase, as a way to bring more visual interest to the page. The navigation bar and stars had many online resources to learn from, but creating the project reel was much more difficult, so it was added last. The project reel is made up of two “project groups” that slide down the page at different times to create the seamless appearance of a looping reel. I ran into an issue early on, where having a set amount of “project previews” in a group would cause them to appear differently on different screens, often breaking the intended appearance. To fix this, a JavaScript function was required to add the correct amount of “project previews” to the reel when the page is resized. As a result, an equation was made comparing the width of the boxes to the height of the project reel container. The function would then use the result of the equation to create a certain number of clones of the project previews, add them to a new project group, and replace any existing project thumbnails with the new group twice. Implementing these interactive features to this project, allowed me to gain an understanding of JavaScript and create a more dynamic portfolio experience.
The last step after adding all the HTML, CSS, & JavaScript was actually putting my portfolio somewhere where people could see. I wanted to use Github’s built-in hosting, Github pages, but needed to learn how to use github. This led me to needing to learn Git, which then led to learning the command line. I spent over a week reading about each of these concepts before even beginning to put them in practice. Once I felt confident with my knowledge of the prerequisites to Github, I was able to successfully host my portfolio for anyone to see. In the end, I believe this project effectively represents who I am, and I’m very satisfied with the end result.